Recommended Hosting Platforms
Install Wordpress
Install All-in-One WP Migration plugin
Prepare your site to install the template file.
Once you’ve installed WordPress, you will need to install the All-in-One WP Migration plugin to import our template.
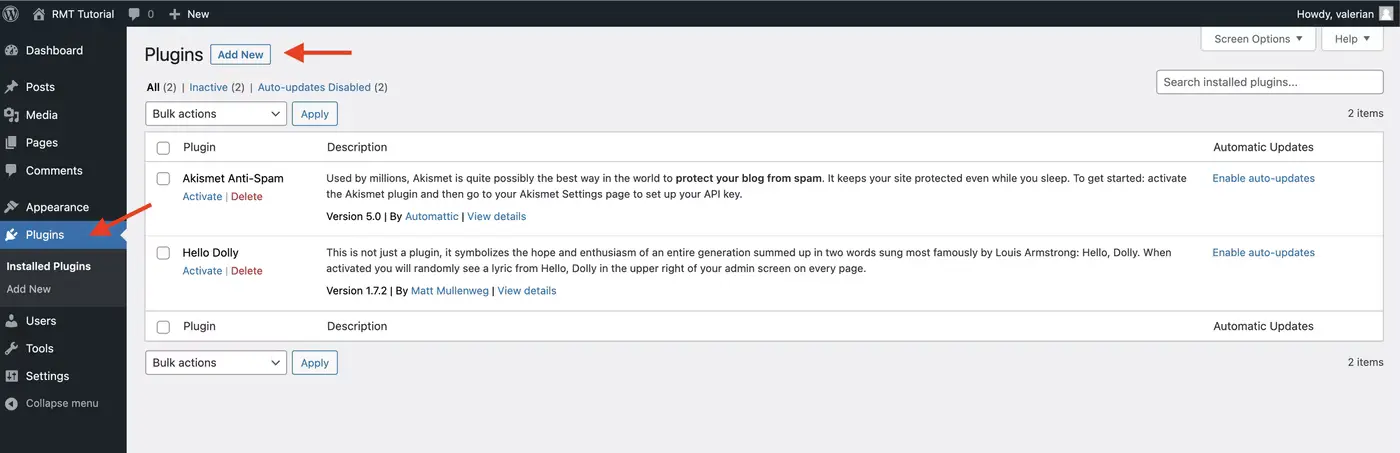
In your WordPress admin, find Plugins on the left sidebar and click on the menu item. Then click on the “Add New” button in the top area:
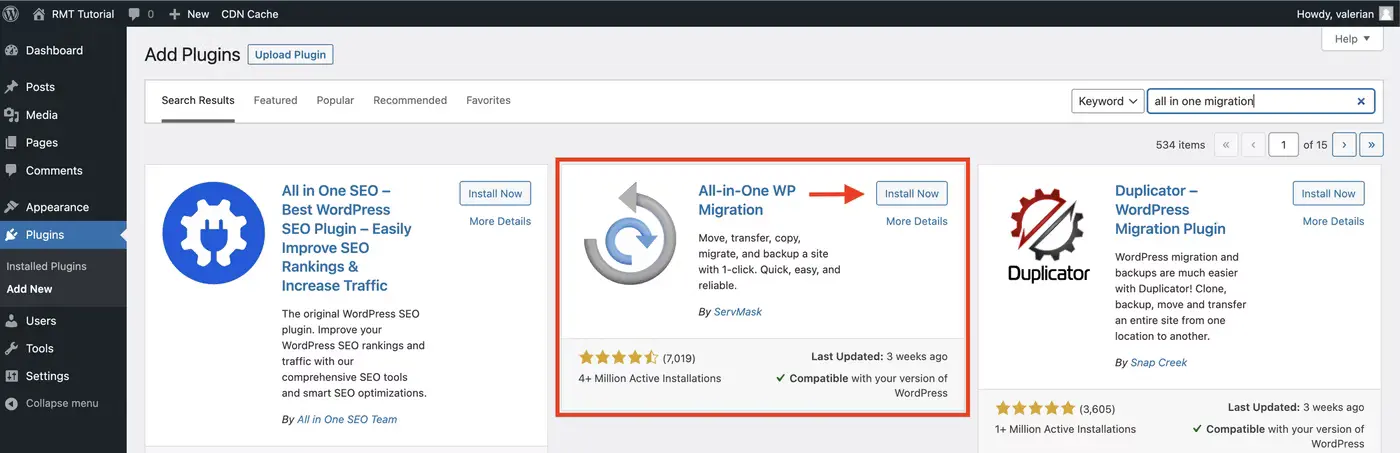
In the search area on the right side, search for: All-in-One Migration. Find the plugin by ServMask and click on the “Install Now” button:
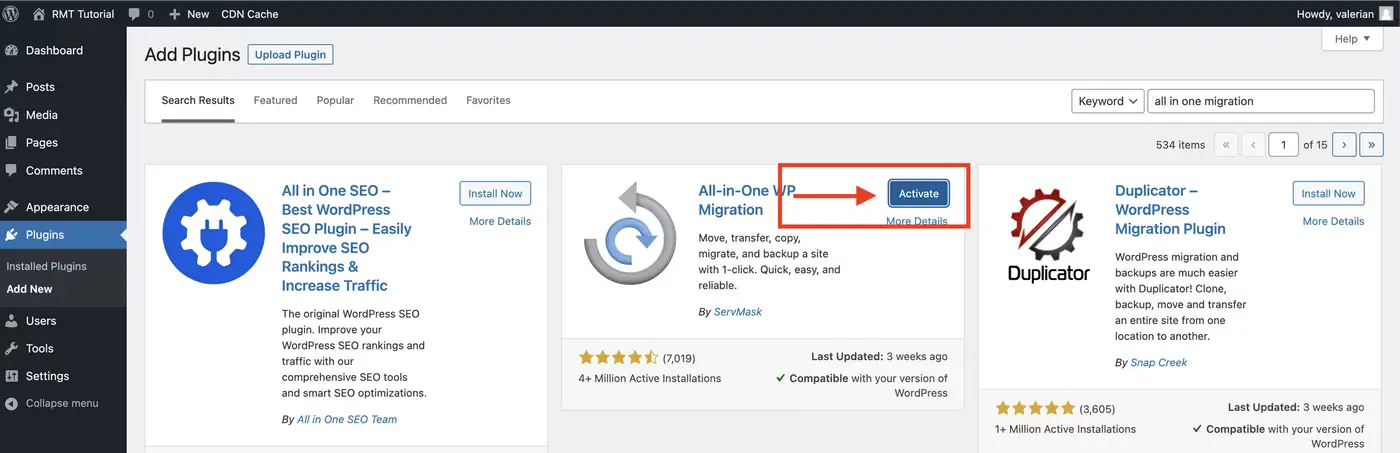
Once the plugin has installed, the button will turn blue. Click on the blue “Activate” button:
Download Template
Import template to your WordPress Site
Install the template on your own WordPress site.
🚨 IMPORTANT: If you import this file on an existing WordPress website, it will overwrite all existing content. Proceed with caution and ensure that you have a backup in place if you are overwriting an existing site and not a fresh installation.
Once you’ve downloaded the template file to your local computer, it’s time to install it on your website.
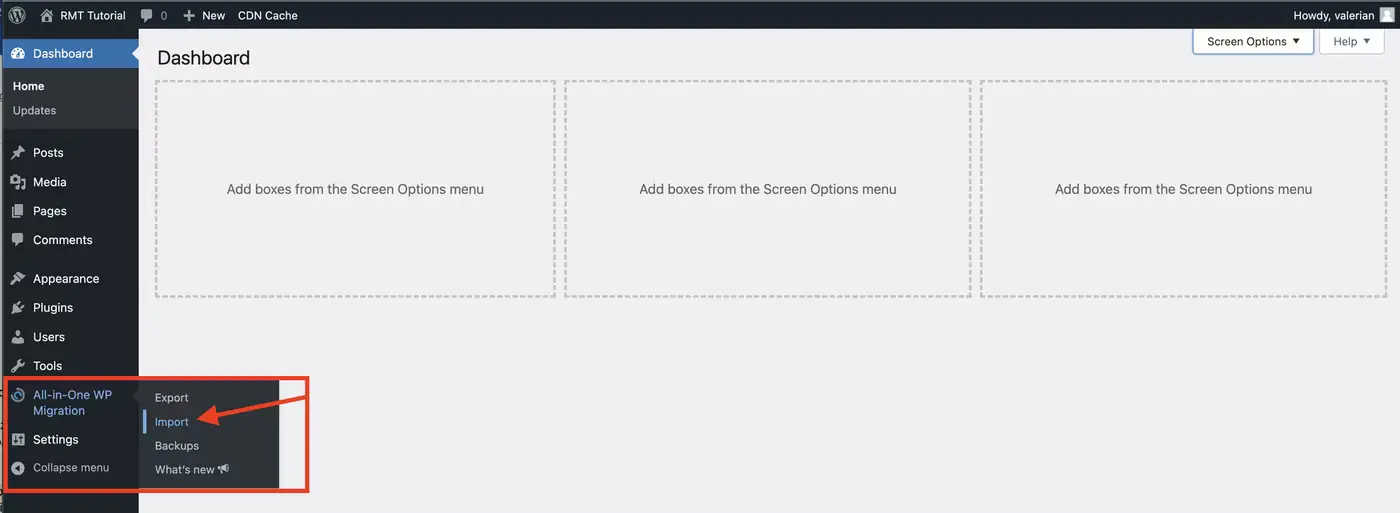
In your WordPress admin area, navigate to All-in-One WP Migration > Import:
Click Import From > File:

Select the template file you downloaded in the previous step. It will begin to import:

Once the file has uploaded, click proceed to continue importing:

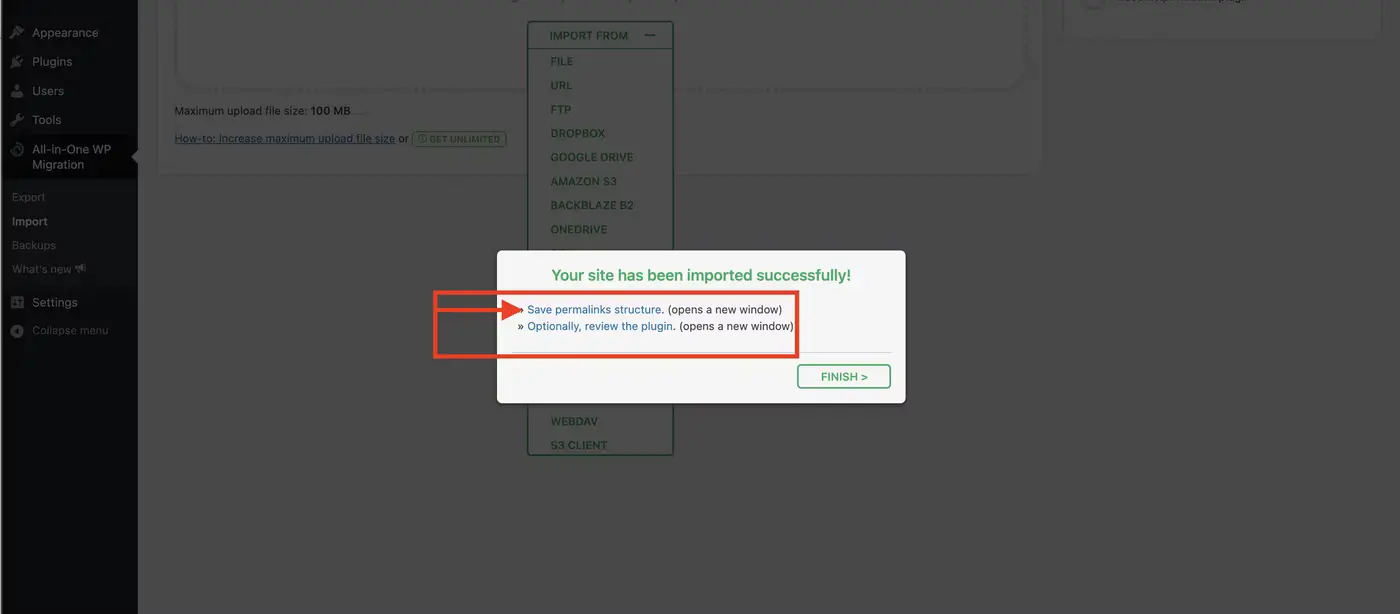
The template will import and you’ll receive a success message. Be sure to click on the “Save permalink structure” option to complete the process:
You’ll be directed to the WordPress login page. Your username and password have been overwritten with the template user:
🔒 Username: RMTcoach
Password: fcg@ehr6VEP!pbv3meg

Once you have logged in, you’ll be taken to the Permalink Settings screen. If not, then navigate to Settings > Permalinks. At the bottom of the page, click the “Save Changes” button. The page will reload. Click the same button again. The page will reload and you can continue to the next steps:

Update and change WordPress settings
Make the required changes to your site after template installation.
Now that your template has been imported to your website, you will need to change a few settings to ensure it’s configured for your use:
WordPress User
When the template imports, it creates a default user account that needs to be changed for security purposes.
Navigate to Users > Add New. Enter your own email address for the username and email fields. Choose a secure password. Select the Administrator role. Click the “Add New User” button:

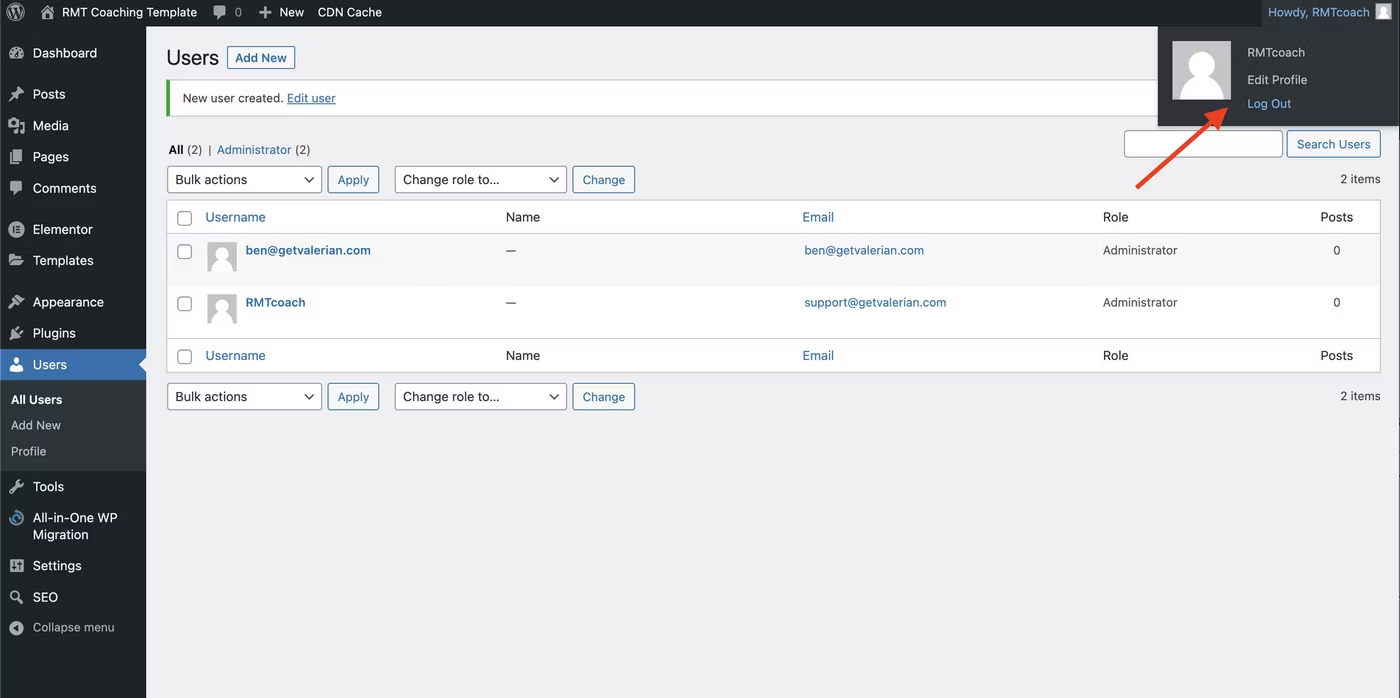
Once your user account has been created, log out of the RMTcoach template account:
Log back into WordPress using your new login. Navigate to the Users section and delete the RMTcoach template login:
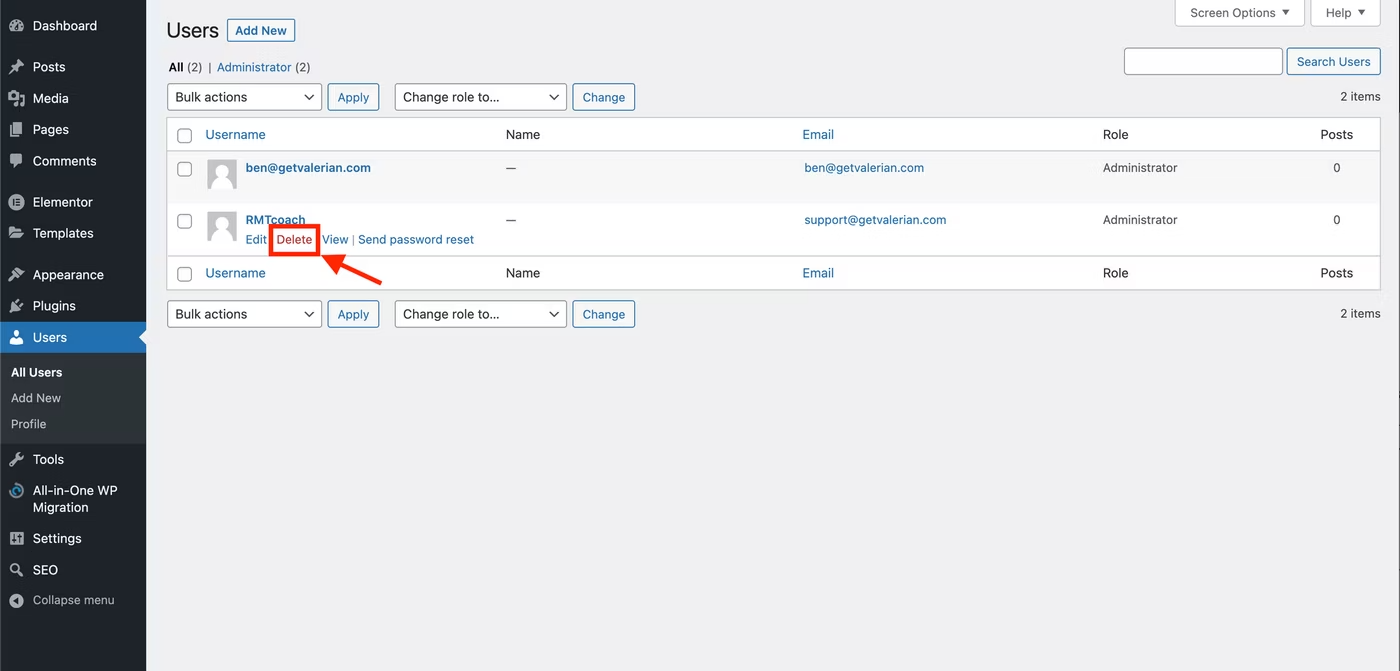
Ensure that all content is attributed to your username before proceeding:

Settings > General
Navigate to Settings > General in WordPress. Customize/change the following fields:
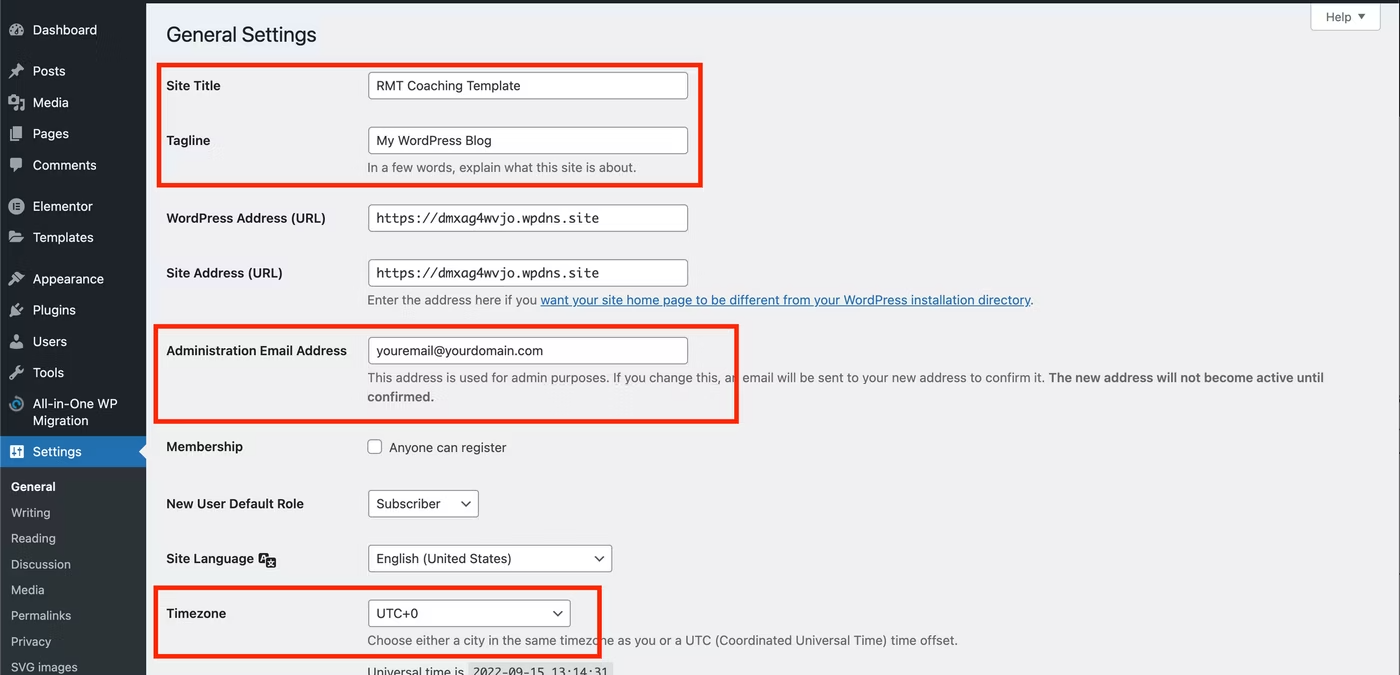
Click the “Save Changes” button at the bottom of the page. Note: when the administration email address is changed, you will receive an email at the new address confirming the change. You must confirm this change by clicking the link in the email.
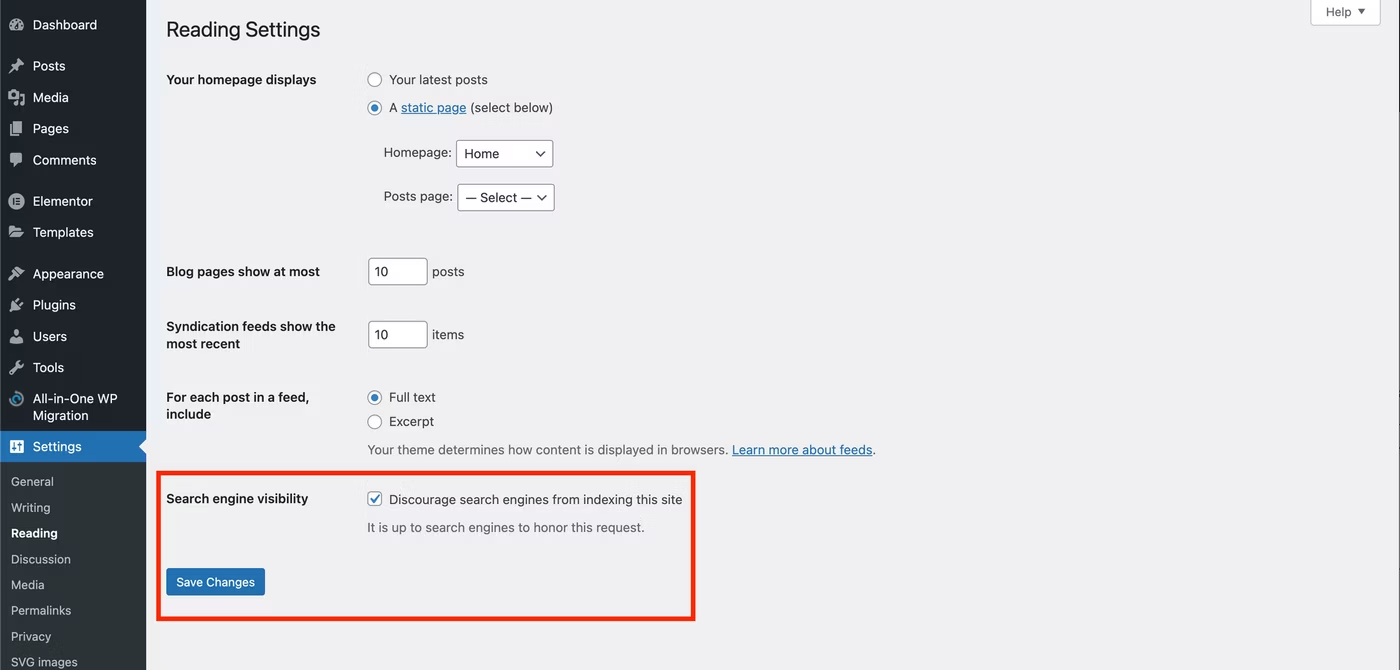
Settings > Reading
To allow Google and other search engines to see your site, you’ll want to UNCHECK the box under Settings > Reading for Search engine Visibility. If you’d prefer to wait until you’ve customized your site before proceeding with this step that is ok, but be sure to remember to come back when you launch your site so that you can be found by search:
Plugins
In the WordPress Admin > Plugins area, you can delete the Akismet Anti-Spam and Hello Dolly plugins. These are built in on all new installations, but are not necessary for your site:
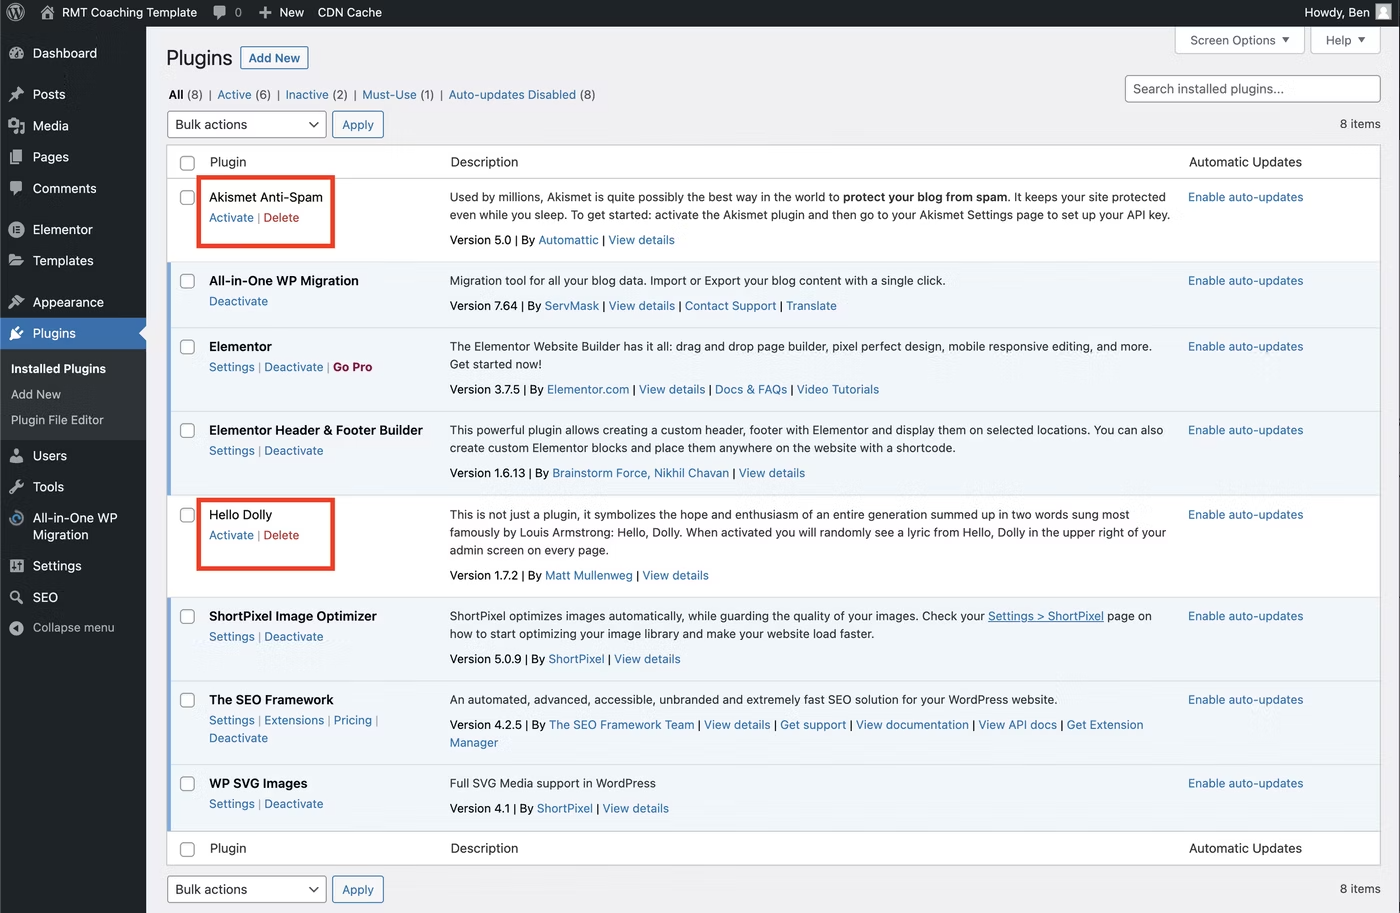
You also no longer need the All-in-One WP Migration plugin. You can deactivate and delete this plugin as well.